- Published on
Python Django - How to deploy one or many django-websites using IIS
- Authors

- Name
- The Bao Lu (beyonderluu)
- @
Hello everyone,
Today I'm gonna make a tutorial about deploying Django with IIS. With IIS, you can deploy one or many projects.
Let's find out !!!
- Create a folder project on
"D:\"or wherever you want, then install virtualenv with:pip install virtualenv
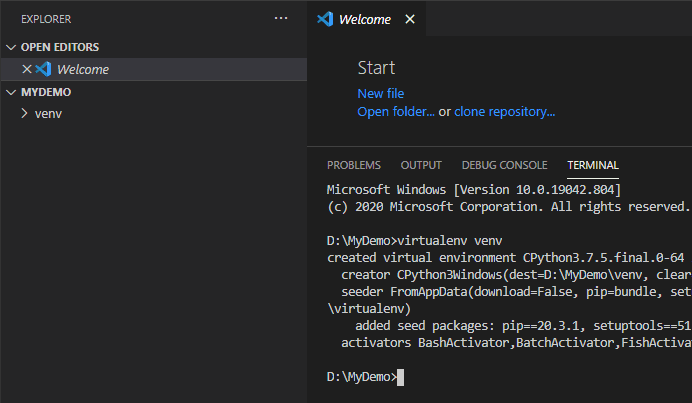
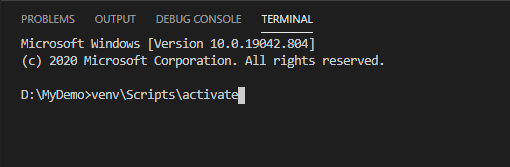
- Create ENV in project folder with:
virtualenv venv. Activate venv with command:venv\Scripts\active. It will appear (venv) in front of the command line
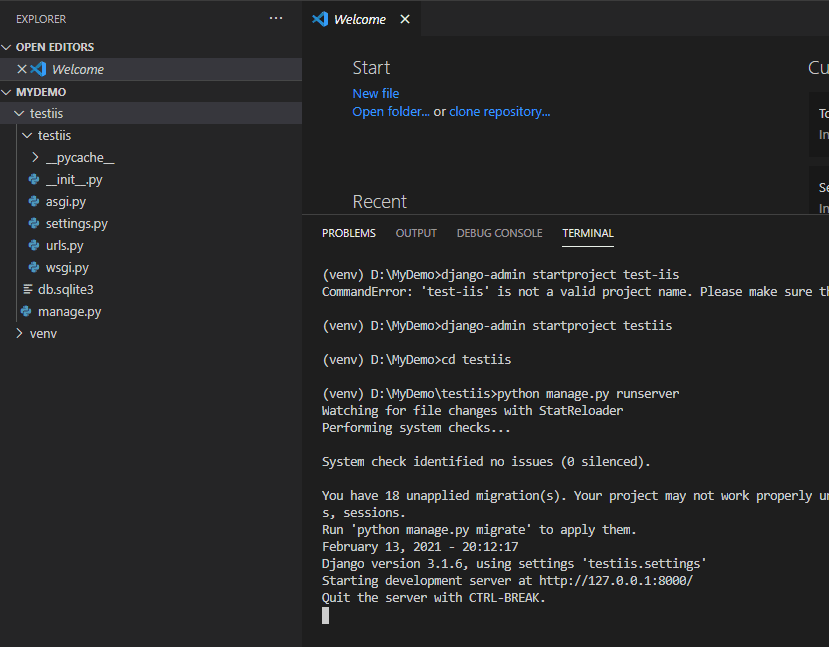
- Install django and wfastcgi with:
pip install django wfastcgi. Then create django project on the folder you created above. Example:django-admin startproject testiis
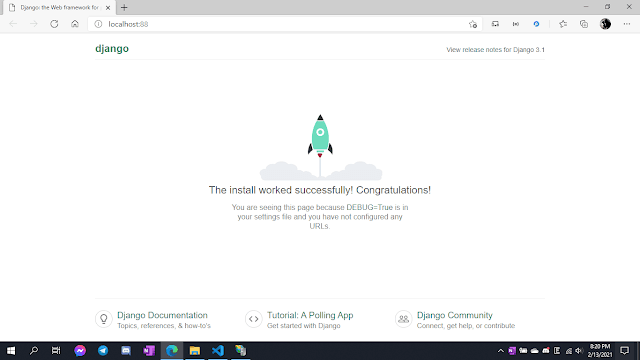
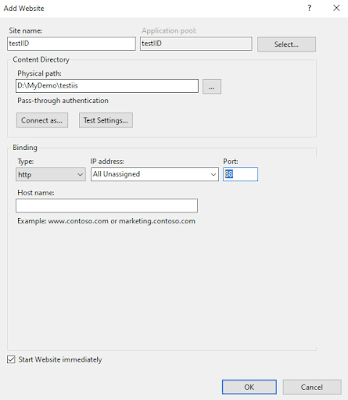
- Open IIS, create a new website, change the Physical path to your Django Project. I'm using port 88 because my other project took port 80.
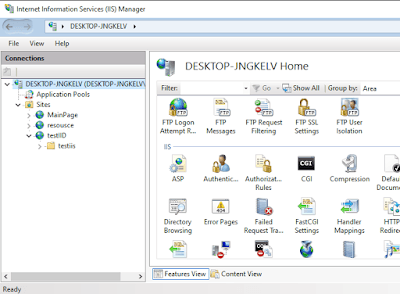
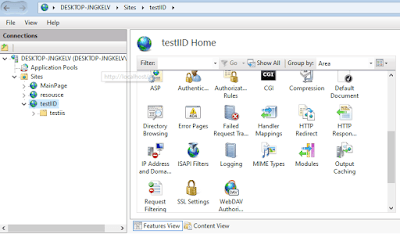
- Click to the main Server and choose
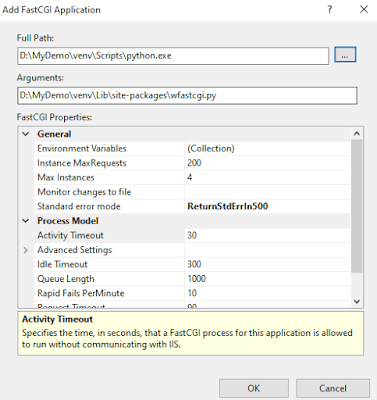
FastCGI SettingsFull-Path you will fill with the path to the python.exe in venv. And Arguments is the path to wfastcgi.py in venv like this:
- Then choose Handler Mappings to set up Module Mapping. Click Add Module Mapping...
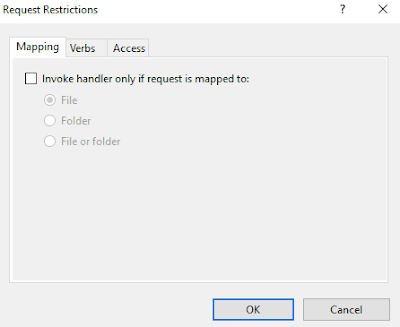
- An windows popup, fill in the form like this.
Request path: * Module: You choose FastCgiModule Executable: path\to\venv\python.exe|path\to\venv\wfastcgi.py Then click Request Restrictions..., untick the Invoke handle ....

- Then click OK, a popup shows out, click No

- A file with the name web.config will appear in the django project 's folder, add some config above the
<system.webServer>
<appSettings>
    <!-- Required settings -->
    <add key="WSGI_HANDLER" value="django.core.wsgi.get_wsgi_application()" />
    <!-- Your django path -->
    <add key="PYTHONPATH" value="D:\MyDemo\testiis" />
    <!-- Your djangoname.settings -->
    <add key="DJANGO_SETTINGS_MODULE" value="testiis.settings" />
</appSettings>
- Now you can run website with your domain and port you setup above